Creating Low-Poly Textures for UE5 with GIMP
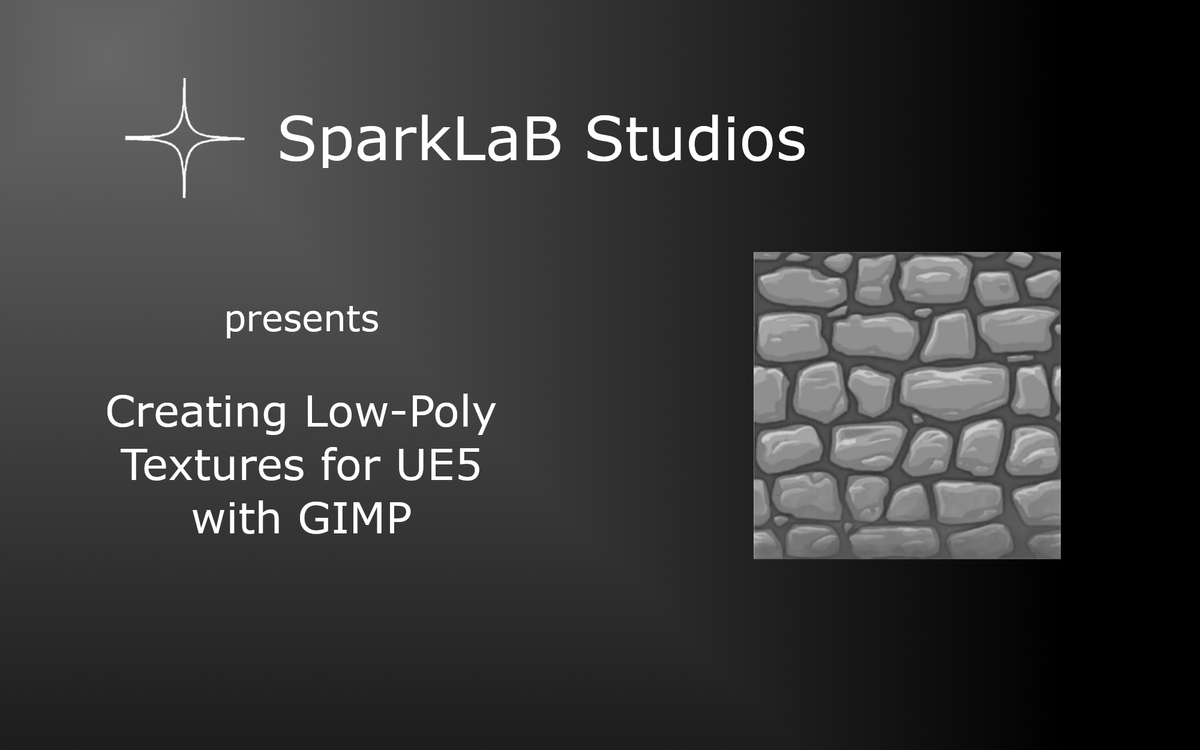
First lets create a new texture from Scratch
In our game development process, we focus on low-poly textures to maintain a stylized, efficient, and visually appealing aesthetic. In this guide, we’ll walk you through how we create our textures using GIMP, a free yet powerful tool we’ve relied on for over a decade.
Step 1: Setting Up the Base Texture
To begin, open GIMP and create a new image:
- Resolution: Use a power-of-two size (e.g., 512x512 or 1024x1024 pixels). This ensures optimal performance in game engines.
- Seamless Tiling: Convert your image into a seamless texture using the "Make Seamless" filter in GIMP. This prevents visible edges when the texture repeats on models.
Since we focus on low-poly art, we aim for flat colors, clear details, and minimal noise rather than photorealistic textures.
Step 2: Creating Essential Texture Maps
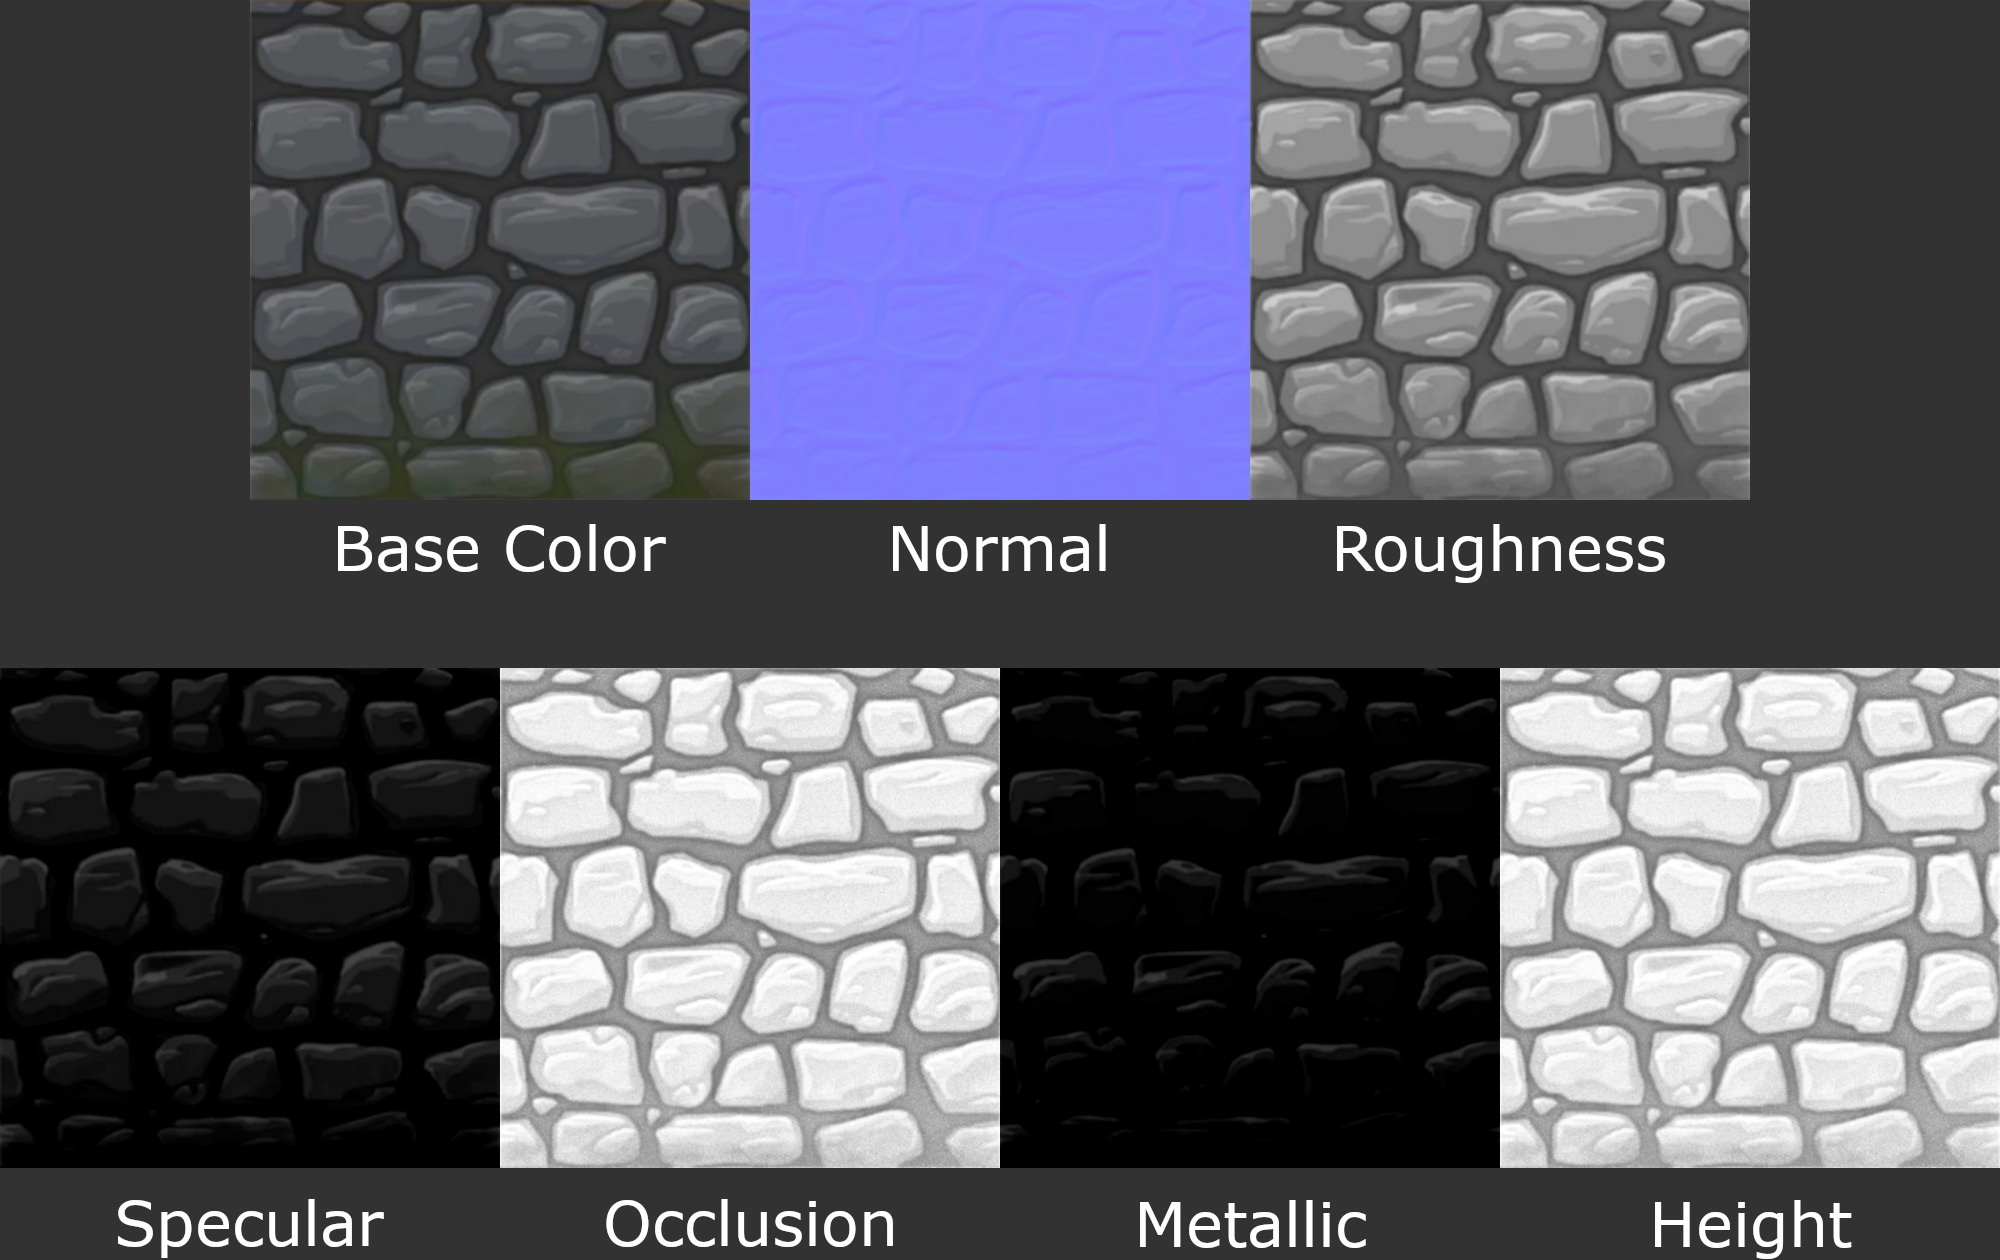
For a proper game-ready texture, we generate several additional maps:
1. Base Color
- This is the core texture defining the look of the surface.
- Since we’re working with low-poly textures, we keep shading minimal, relying on flat colors with slight gradients or patterns for variation.
2. Normal Map
- Defines surface details by simulating depth and light interaction.
- For a low-poly style, we often skip or simplify normal maps to avoid adding unnecessary detail.
- If needed, generate one using a normal map generator or GIMP’s "Normal Map" plugin.
3. Roughness Map
- Determines how smooth or rough the surface appears.
- Black = Glossy (smooth, shiny)
- White = Rough (matte, non-reflective)
- In low-poly textures, we often use simple grayscale gradients or flat values instead of highly detailed maps.
4. Specular Map
- Controls how much light reflects off the surface.
- Black = No reflection (dull surface)
- White = High reflection (shiny surface, like polished stone or metal)
- Low-poly textures typically use minimal specular effects to maintain a consistent look.
5. Metallic Map
- Defines whether a material behaves like metal.
- Black = Non-metal (wood, stone, cloth, etc.)
- White = Metal (gold, steel, copper, etc.)
- If your game uses metallic surfaces, apply flat values rather than noisy, detailed maps.
6. Ambient Occlusion (AO) Map
- Simulates soft shadowing in areas where light is blocked.
- Black = Areas in shadow
- White = Areas exposed to light
- For a low-poly aesthetic, we often paint simple AO shadows by hand instead of relying on baked AO maps.
7. Height Map (Displacement Map)
- Adds depth by pushing parts of the texture inwards or outwards.
- Black = Lower areas (indentations)
- White = Raised areas (extrusions)
- Since low-poly textures emphasize flat shading, displacement maps are usually not needed unless for special effects.
Here’s an example of how we apply these maps in our game:
Step 3: Implementing Textures in Unreal Engine
Once we’ve created our texture maps, we bring them into Unreal Engine:
- Create a Master Material – Follow this tutorial to set up a versatile material for all assets.
- Import Your Textures – Drag and drop the maps into Unreal Engine.
- Create a Material Instance – Assign textures to the corresponding material channels.
Using ORDS Textures in Unreal Engine
If you use preset textures from Unreal Engine’s Fab marketplace, keep in mind they follow the ORDS texture format:
- O (Occlusion) → Red Channel (R)
- R (Roughness) → Green Channel (G)
- D (Displacement/Height) → Blue Channel (B)
- S (Specular) → Alpha Channel (A)
Simply plug these into their respective inputs in Unreal Engine.
Next Steps: UV Mapping for Low-Poly Models
When applying textures to low-poly meshes, UV mapping is essential to ensure the texture aligns correctly. We recommend this UV mapping tutorial for a detailed guide. We’ll also cover UV mapping for low-poly models in an upcoming post!
By following these steps, you can create and apply low-poly textures efficiently while keeping your game visually cohesive and optimized. Stay tuned for more insights into our workflow! 🚀

